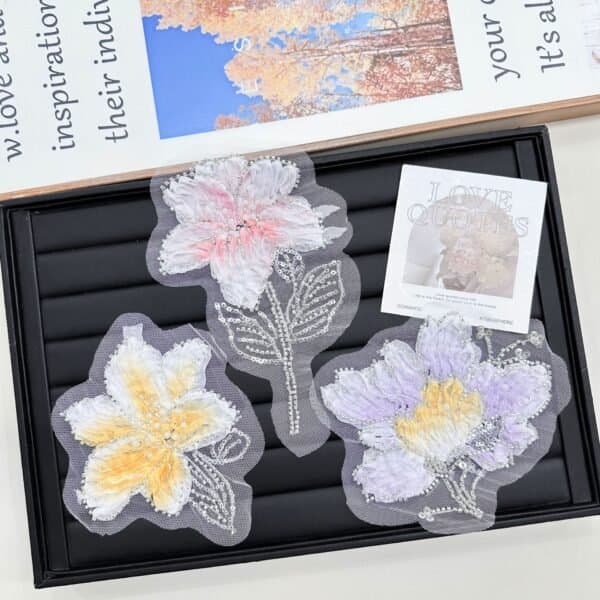
Plan lace applique placement for wedding dresses with practical guidance on motif scale, symmetry, seams, tulle bases and production handoff.
Start with the garment map, not the loose motif
Lace applique placement should begin on the full garment pattern or toile. Mark center front, center back, waist, neckline, armhole, princess seams, darts and planned closures before arranging any motifs. These lines control how the embroidery will read when the dress is worn rather than when it is lying flat on a table.
Photograph the approved layout from directly above and add reference measurements from fixed construction points. A beautiful arrangement that exists only in a designer's memory is difficult to reproduce across samples, sizes and repeat orders.
Choose motif scale for the silhouette
Large floral appliques create strong focal areas on a clean bodice or skirt, while smaller motifs are easier to graduate around necklines, straps and fitted seams. A mixed set can include hero flowers, secondary leaves and small connector motifs so the composition feels intentional instead of scattered.
View the placement from normal fitting distance. Fine details may disappear in photographs, while oversized motifs can overwhelm a narrow bodice. The right scale supports the gown silhouette and the brand's visual language.
For hero flowers, secondary leaves and matched pairs, start with the available 3D flower applique specifications before finalizing the placement map.
Plan symmetry without making the dress look mechanical
Mirrored applique pairs are useful around necklines, waist points and center-back closures. Exact symmetry gives a formal, architectural result; controlled asymmetry can feel softer and more organic. Decide which effect the collection needs before requesting matched pairs from the supplier.
When using asymmetry, keep visual balance through motif weight and direction. A large flower on one side may need a longer vine or a cluster of smaller motifs on the other rather than an identical copy.
Resolve seams, darts and edges before sewing
Avoid placing the densest embroidered area directly over a bulky seam allowance unless the construction has been tested. Motifs can bridge princess seams and darts, but the dress should first be fitted. The applique is then positioned across the finished seam so it does not distort during alteration.
At a neckline or hem, decide whether the motif will finish the edge, sit inside a clean tulle margin or be partially trimmed to create an organic outline. This decision changes the usable size of the applique and should be shown in the placement map.
When the team is deciding between raised petals and a lower-profile motif at alteration points, use the 3D vs flat applique comparison before approving the placement.
Test the applique on the final tulle and lining
The same applique can look very different on nude illusion tulle, ivory net, satin or multiple layers of soft mesh. Test transparency, thread color, bead weight and edge visibility on the actual base materials. Review the sample in daylight and the lighting expected for fittings and photography.
For close-to-skin areas, assess the reverse side as carefully as the front. Thread ends, stiff backing and bead attachment points may require lining, edge refinement or a different construction.
Translate the approved layout into production instructions
A production-ready placement file should show the garment view, motif codes, orientation, quantity per dress, fixed measurement points and any mirrored pairs. State whether appliques are supplied loose, pre-joined as a neckline or panel, or attached to the garment by the sewing factory.
Keep one approved physical set with the signed-off sample. When the style is graded, review whether the same motif arrangement works across all sizes or whether spacing and connector motifs need adjustment. This protects the design through bulk production and future reorders.